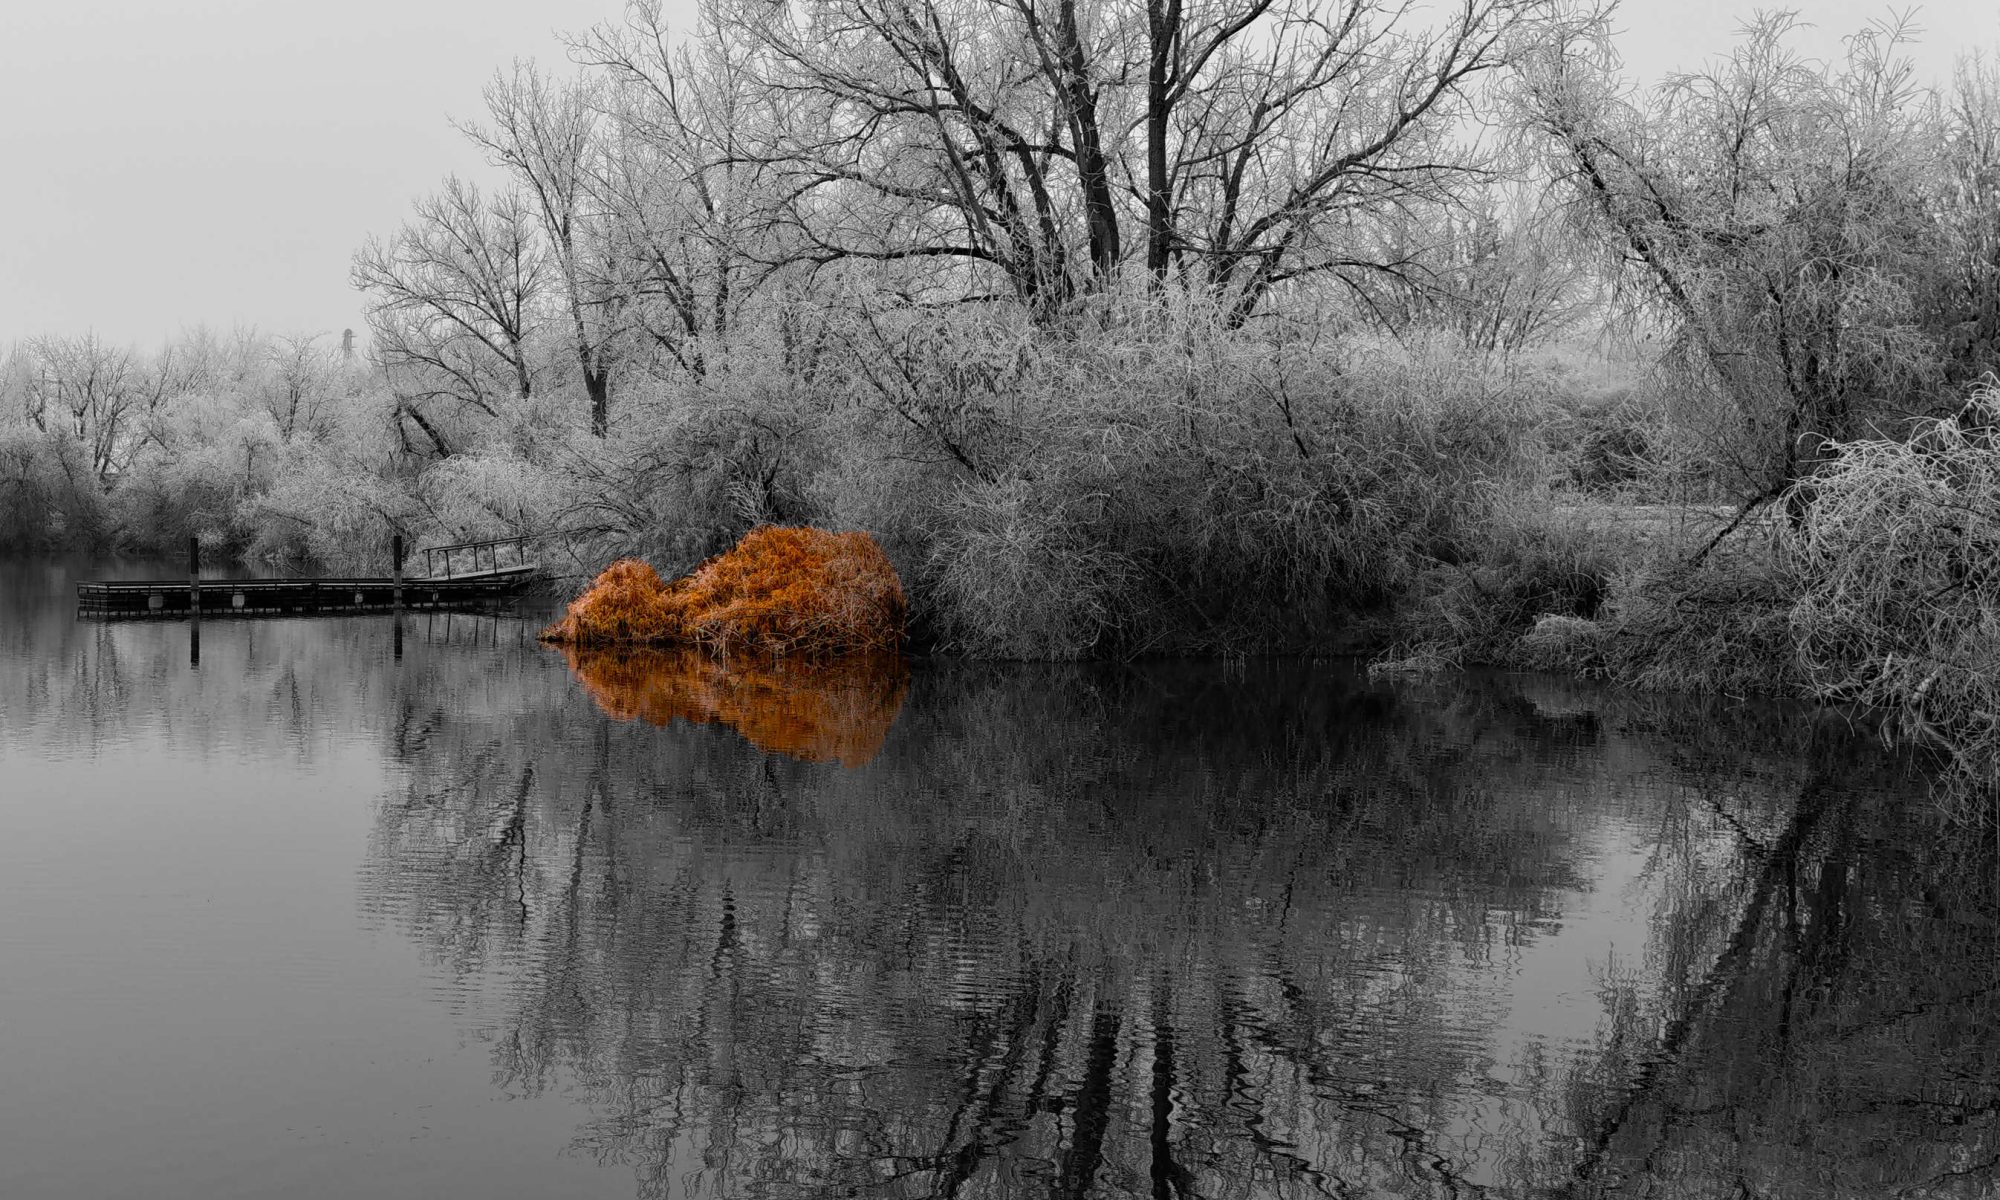
Introduction Selective colorization is a striking photographic technique where most of the image is converted to black and white, while specific parts are left in color. This draws the viewer’s attention to the colored areas, making them pop and adding a creative touch to your photos. In this blog, we’ll explore how to achieve selective colorization using GIMP, a free and open-source image editing software.
Step-by-Step Guide
1. Open Your Image in GIMP First, launch GIMP and open the image you want to work on. You can do this by going to File > Open and selecting your image file.
2. Duplicate the Original Layer To preserve the original image, duplicate the layer by right-clicking on the layer in the Layers dialog and selecting Duplicate Layer. You’ll now have two layers: the original and a duplicate.
3. Convert the Duplicate Layer to Black and White Select the duplicate layer and convert it to black and white by navigating to Colors > Desaturate. You can choose between different desaturation methods: Lightness, Luminosity, or Average. Experiment with these options to see which one works best for your image.
4. Add a Layer Mask With the black and white layer still selected, add a layer mask by right-clicking the layer and selecting Add Layer Mask. Choose White (full opacity) as the layer mask type and click Add. The layer mask will allow you to reveal the color from the layer below selectively.
5. Paint on the Layer Mask Select the Brush Tool from the toolbox and set the foreground color to black. With the layer mask selected, start painting over the areas you want to reveal in color. As you paint, the original color will show through. Use different brush sizes and hardness settings to achieve precise control over the areas you want to colorize.
6. Fine-Tune Your Selection Switch between black and white as the foreground color to paint on the layer mask. Painting with black reveals the color, while painting with white restores the black and white effect. Use this technique to fine-tune your selection until you’re satisfied with the result.
7. Final Adjustments and Save Once you’re happy with the selective colorization, you can make additional adjustments such as brightness, contrast, or sharpness to enhance the image further. Finally, save your edited image by going to File > Export As and choosing your desired file format.
Conclusion Selective colorization is a powerful technique that can add drama and focus to your photos. With GIMP, you have a versatile tool at your disposal to create stunning selective color effects without the need for expensive software. Give it a try and let your creativity shine!