Mastering Selective Colorization in Photography Using GIMP

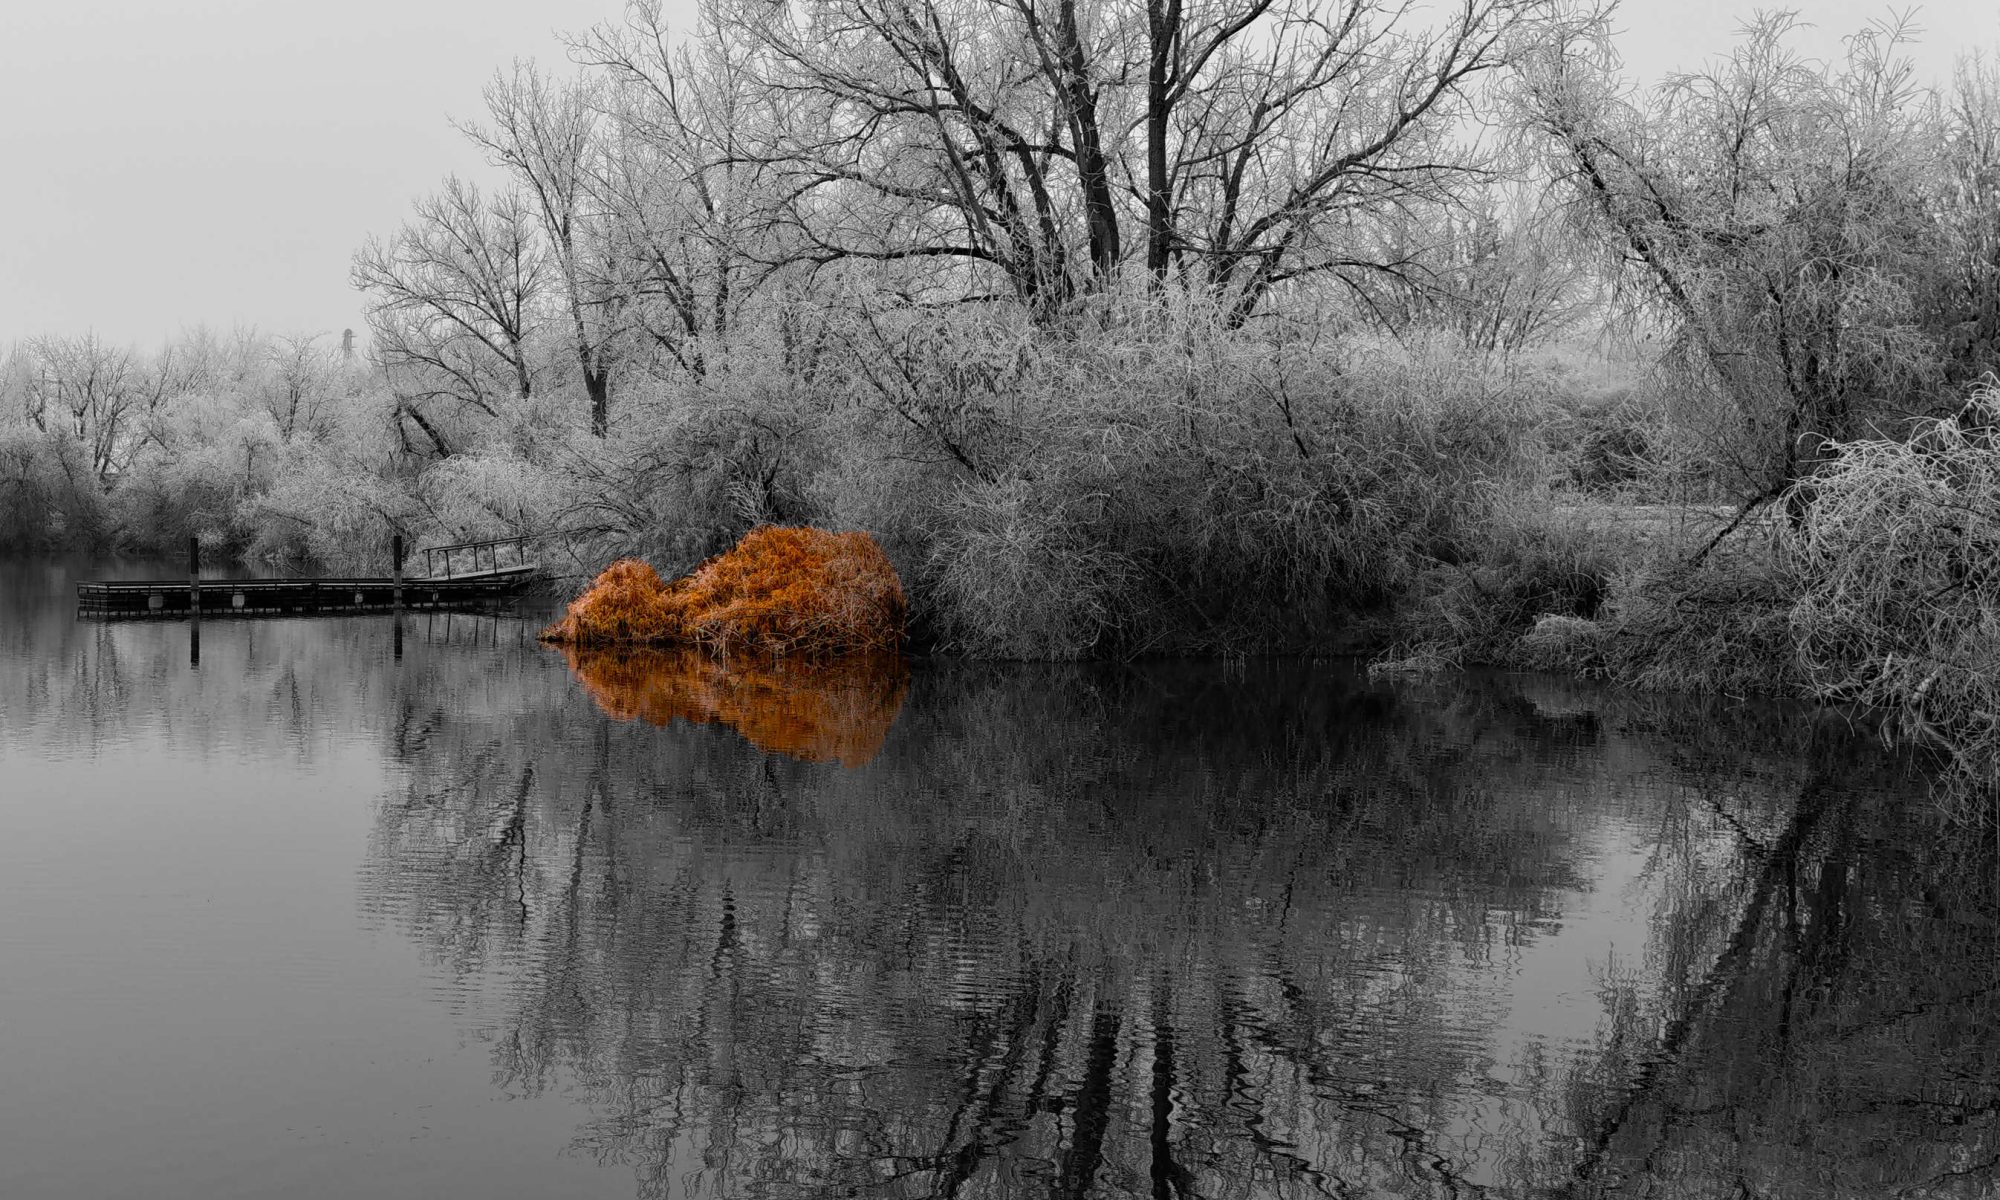
Selective Colorization

Introduction Selective colorization is a striking photographic technique where most of the image is converted to black and white, while specific parts are left in color. This draws the viewer’s attention to the colored areas, making them pop and adding a creative touch to your photos. In this blog, we’ll explore how to achieve selective colorization using GIMP, a free and open-source image editing software.

Step-by-Step Guide

1. Open Your Image in GIMP First, launch GIMP and open the image you want to work on. You can do this by going to File > Open and selecting your image file.

2. Duplicate the Original Layer To preserve the original image, duplicate the layer by right-clicking on the layer in the Layers dialog and selecting Duplicate Layer. You’ll now have two layers: the original and a duplicate.

3. Convert the Duplicate Layer to Black and White Select the duplicate layer and convert it to black and white by navigating to Colors > Desaturate. You can choose between different desaturation methods: Lightness, Luminosity, or Average. Experiment with these options to see which one works best for your image.

4. Add a Layer Mask With the black and white layer still selected, add a layer mask by right-clicking the layer and selecting Add Layer Mask. Choose White (full opacity) as the layer mask type and click Add. The layer mask will allow you to reveal the color from the layer below selectively.

5. Paint on the Layer Mask Select the Brush Tool from the toolbox and set the foreground color to black. With the layer mask selected, start painting over the areas you want to reveal in color. As you paint, the original color will show through. Use different brush sizes and hardness settings to achieve precise control over the areas you want to colorize.

6. Fine-Tune Your Selection Switch between black and white as the foreground color to paint on the layer mask. Painting with black reveals the color, while painting with white restores the black and white effect. Use this technique to fine-tune your selection until you’re satisfied with the result.

7. Final Adjustments and Save Once you’re happy with the selective colorization, you can make additional adjustments such as brightness, contrast, or sharpness to enhance the image further. Finally, save your edited image by going to File > Export As and choosing your desired file format.

Conclusion Selective colorization is a powerful technique that can add drama and focus to your photos. With GIMP, you have a versatile tool at your disposal to create stunning selective color effects without the need for expensive software. Give it a try and let your creativity shine!

Long Exposure Photography: A Guide to Capturing Time

Introduction

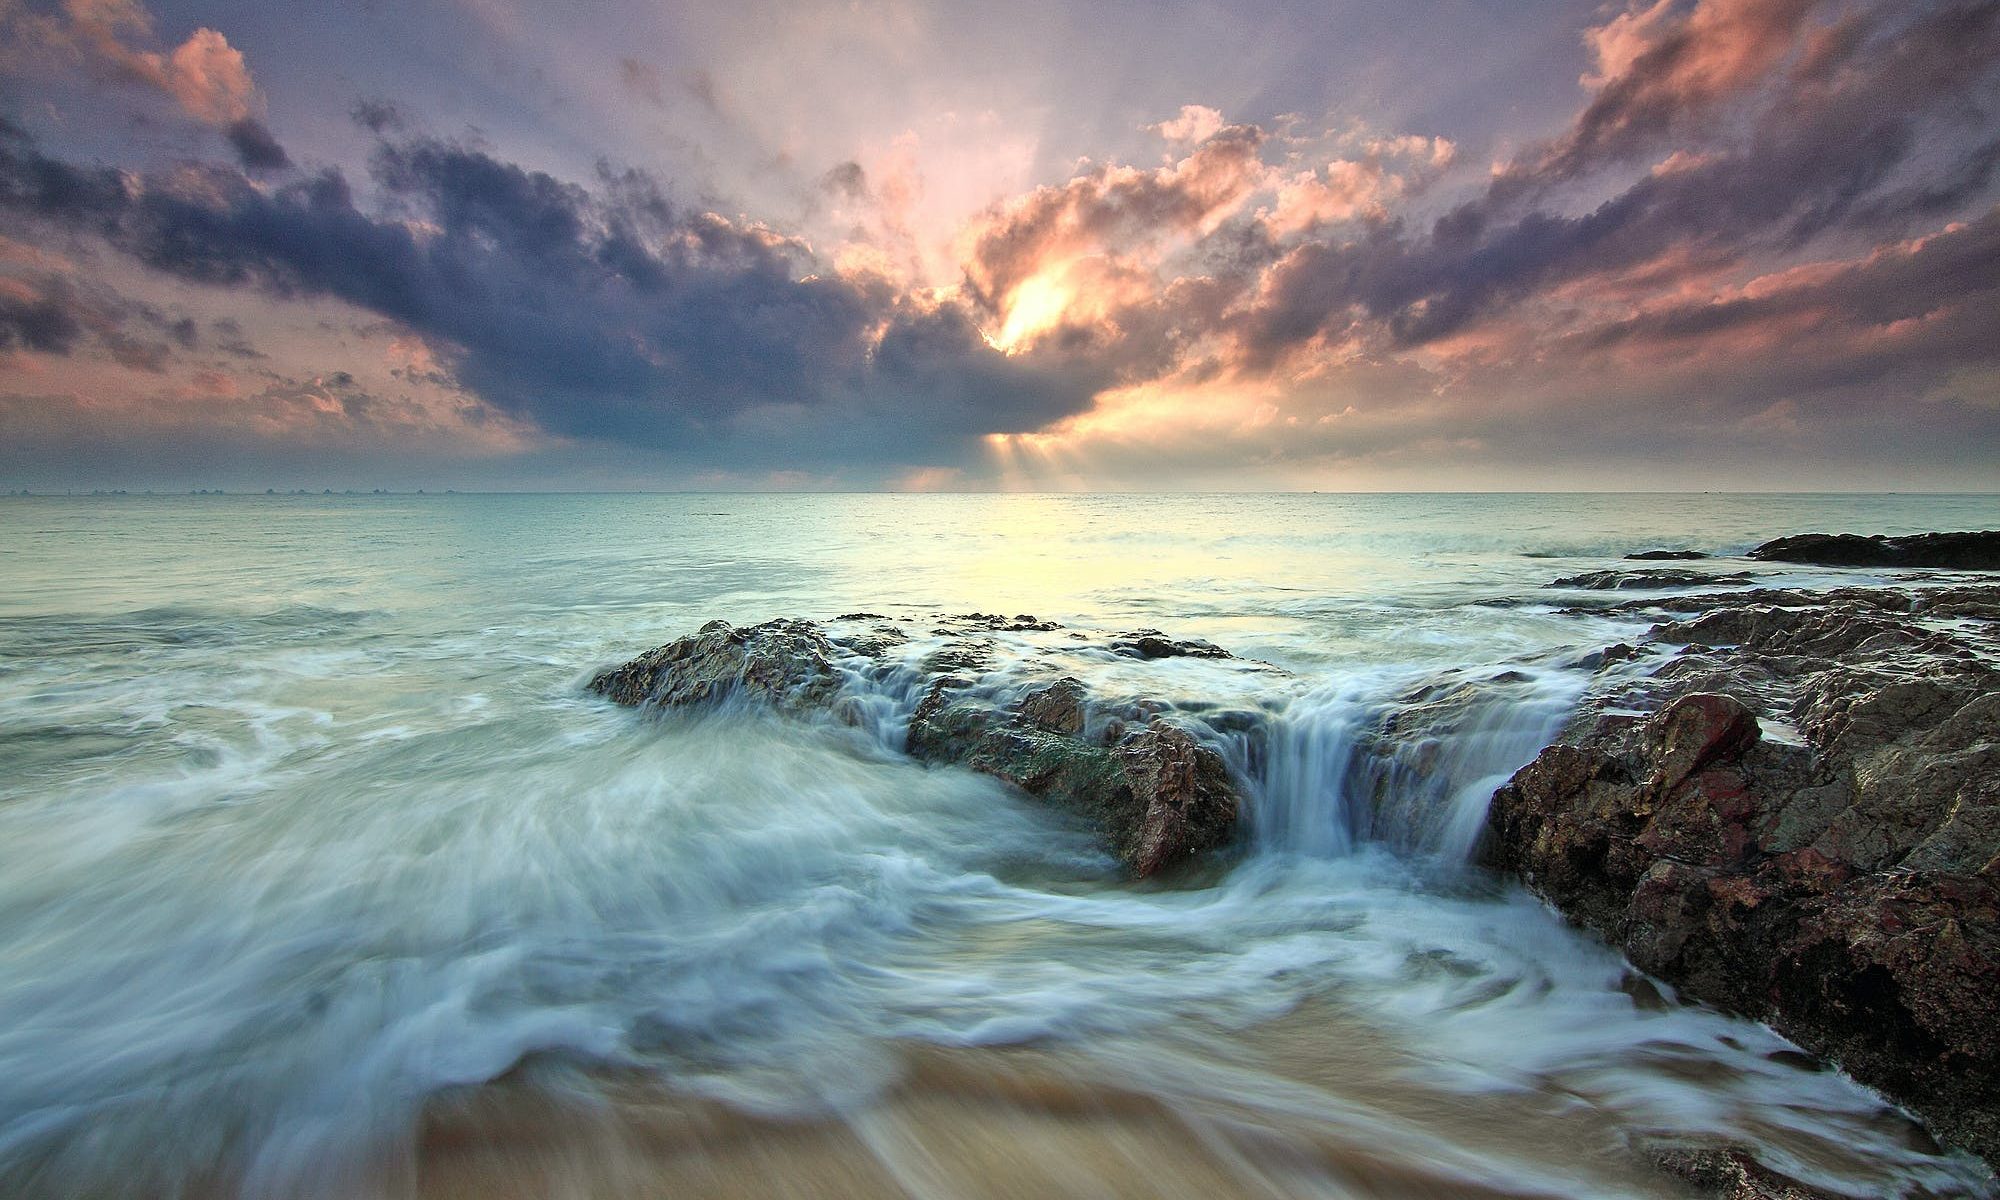
Long exposure photography, a technique that involves using a long-duration shutter speed, has the power to capture the essence of time in a single image. It’s a popular method among photographers who want to create dreamy landscapes, smooth water surfaces, light trails, and more. This blog post will guide you through the basics of long exposure photography and how to get started.

What is Long Exposure Photography?

Long exposure photography is a technique where the camera’s shutter is left open for a longer period of time, allowing more light to enter the sensor. This results in a photo that effectively captures the movement and passage of time.

Why Use Long Exposure?

Long exposure photography allows you to capture a different perspective of the world, one that our eyes can’t naturally see. It can turn bustling city streets into ghostly realms, make waterfalls look silky smooth, and create light trails from moving vehicles.

Equipment Needed

  1. Camera: Any camera with manual mode will work. You need to be able to control the shutter speed, aperture, and ISO.
  2. Tripod: Essential for keeping your camera steady during the long exposure.
  3. Neutral Density (ND) Filter: This acts like sunglasses for your camera, reducing the amount of light that enters the lens without affecting the color.
  4. Remote Shutter Release: This device can help you take a photo without physically touching the camera, reducing the risk of camera shake during the long exposure.

Apps to Assist You

  1. NiSi Filters Exposure Calculator (Android and iOS): This app helps you calculate the correct exposure time when using NiSi Neutral Density filters.
  2. Exposure Calculator (Android): This app calculates the equivalent exposure for a set of photos.
  3. Lee Filters – Stopper Exposure (Android and iOS): This app helps you calculate the exposure time for your photos when using Lee Filters range of Stopper long exposure camera filters.
  4. Camera FV-5 Lite (Android): This is a professional camera application for mobile devices, that puts DSLR-like manual controls in your fingertips.
  5. Easy Long Exposure Camera (Android): This app allows you to take long exposure photos and infinite exposure photos.
  6. Slow Shutter Fast Cam (Android): This app lets you capture long-exposure and time-exposure photos.
  7. Manual Camera DSLR (Lite) (Android): This app gives you DSLR-like manual controls for your camera.
  8. Long Exposure Camera (Android): This app allows you to take long exposure photos.

Steps to Take a Long Exposure Photo

  1. Set Up Your Camera: Mount your camera on the tripod to ensure stability.
  2. Compose Your Shot: Frame your shot just as you would with a normal photograph.
  3. Set Your Camera to Manual Mode: This gives you control over the shutter speed, aperture, and ISO.
  4. Adjust Your Settings: Start with a low ISO, set your desired aperture, and then adjust the shutter speed until you get a well-exposed image.
  5. Attach the ND Filter: This allows you to use a slower shutter speed without overexposing your image.
  6. Take the Shot: Use a remote shutter release or your camera’s self-timer to avoid any camera shake.

Conclusion

Long exposure photography might seem daunting at first, but with practice, you’ll be able to capture stunning images that truly stand out. So grab your gear, head out, and start experimenting with the flow of time!

Remember, the key to mastering long exposure photography, like any art, is patience and practice. Happy shooting!

Shooting the Moon

Created by ChatGPT – Release Notes (Feb 13)

Moon photography is a fascinating and challenging hobby that can yield stunning results. Whether you’re a seasoned photographer or just starting out, capturing the moon’s ethereal beauty can be a rewarding experience. In this post, we’ll explore some tips and techniques for taking great photos of the moon.

  1. Know the phases of the moon

The moon’s appearance changes dramatically as it moves through its phases, from the thin crescent of a new moon to the full and bright disk of a full moon. Understanding the moon’s phases and when they occur is crucial for planning your moon photography. Full moons are generally the best time to take photos, as they offer more light and detail than other phases.

  1. Use a long lens or telescope

To get a clear and detailed image of the moon, you’ll need a long lens or telescope. A telephoto lens with a focal length of 400mm or longer is ideal, and a telescope with a magnification of 200x or more will give you even more detail. If you don’t have a long lens or telescope, consider renting or borrowing one for the occasion.

  1. Use a tripod

To get sharp and steady shots of the moon, it’s important to use a sturdy tripod. Long exposures and high magnifications can amplify even the slightest movements, so using a tripod will help you get sharp and clear images.

  1. Choose the right time and location

The moon rises and sets just like the sun, and its position in the sky changes throughout the night. To get the best shots, choose a clear and dark location away from city lights, and plan to shoot at the moon’s highest point in the sky. This will typically be around moonrise or moonset, when the moon is low on the horizon and appears larger due to atmospheric distortion.

  1. Use manual focus

Most cameras have trouble focusing on the moon, so it’s best to switch to manual focus and adjust the focus ring until the moon is sharp and clear. You can use the live view function or a loupe to help with focusing.

  1. Experiment with different exposures

The moon is a bright subject, and getting the right exposure can be tricky. To start, set your camera to manual mode and try a few different exposures, from 1/125 second to several seconds. Experiment with different ISO settings, aperture, and shutter speeds to find the combination that works best for your setup.

  1. Post-processing

Finally, don’t be afraid to experiment with post-processing techniques to enhance your moon photos. Adjusting the brightness, contrast, and saturation can bring out details in the moon’s surface, and stacking multiple exposures can reduce noise and increase detail.

In conclusion, taking photos of the moon is a rewarding and challenging hobby that can yield beautiful and unique results. By following these tips and techniques, you’ll be well on your way to capturing stunning images of the moon. So grab your camera, find a clear night sky, and start shooting!

The 5 best how-to photography websites

The internet is filled with photography websites that share interesting techniques and tutorials, because there is always something to learn about this art. In recent years there has been an explosion of interest in photography that has been fueled by the abundance of relatively inexpensive camera phones, and the ease of sharing your “captures” on social media. Below I’ve listed a few of my favorite “go to” photography websites. Enjoy!

1 Fstoppers

2 Digital Photography School

3 DIY Photography

4 Photography Life

5 Cambridge in Colour